Europe
Asia
Oceania
Americas
Africa
CRASH COURSE
ESSENTIAL PHOTO SKILLS MADE EASY
If it looks
Charlotte Beutler’s still-life photo comes under our microscope
This month: Improve composition Compose yourself for photographs that are worth looking at more than once
Still raining outside? Then it’s time to get creative with overlay shooting modes and Wendy Evans
Digital Camera readers show how they’ve been getting creative, submitting images across a range of genres
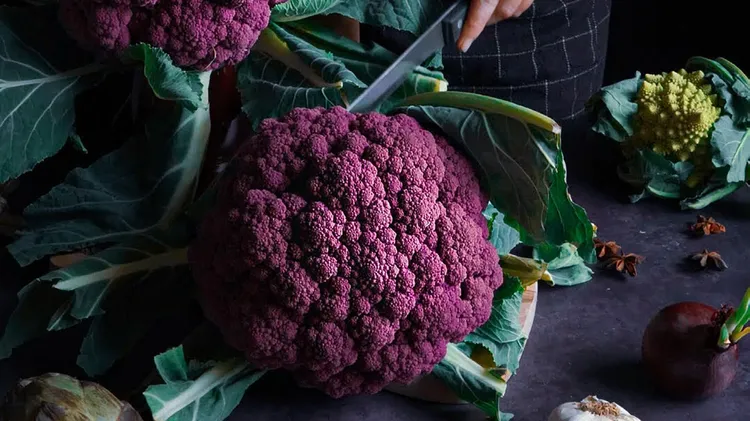
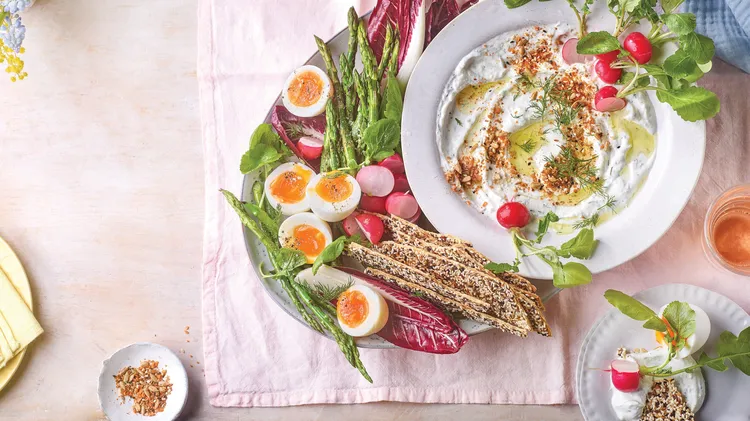
Celebrate the season – and the Bank Holiday weekend – with a vibrant feast with recipes for everyone
Pretty-as-a-picture bakes inspired by the fresh zing of spring, along with crafts to help share them