Europe
Asia
Oceania
Americas
Africa
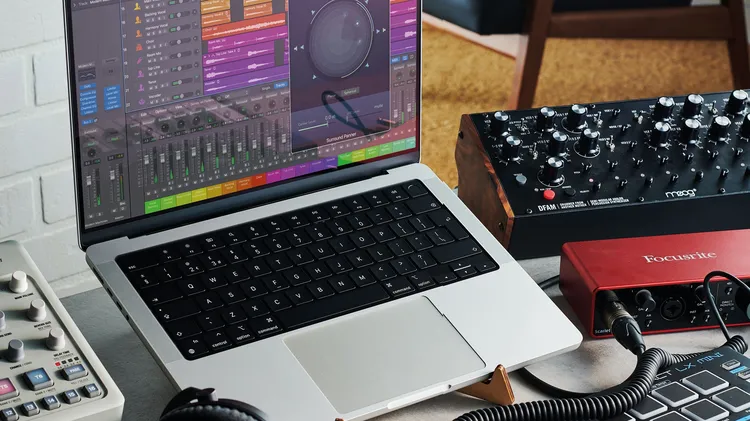
Creative Logic Pro
Smarten up your sounds wi
PHYSICAL STORAGE Store small USB sticks in craft boxes I’ve just started transferring MP3 files to small USB sticks to use in the appropriate socket in my Bluetooth speaker. But storage as usual with
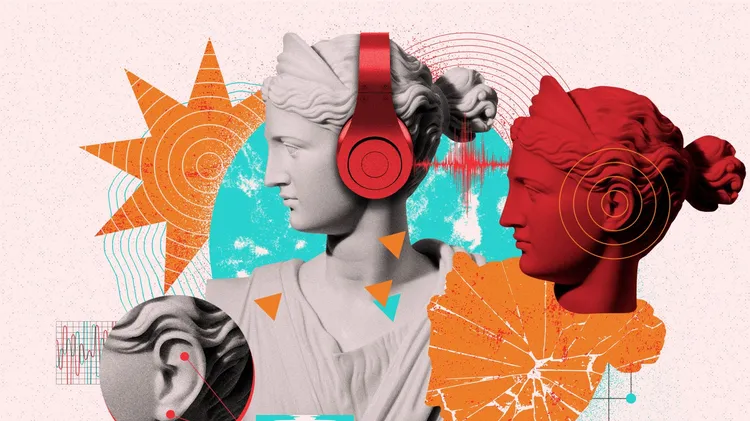
The best apps for bedroom bleeps and rowdy rock
T3 ’s top physicist waves his Geiger counter at your problems
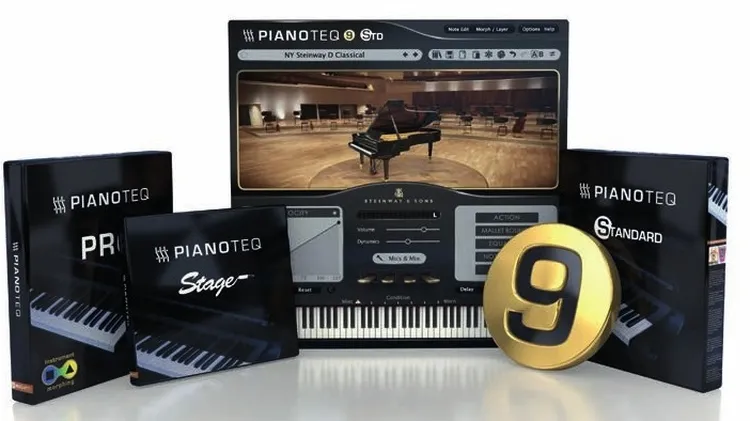
Expressing a musical note such that it sounds analogue and ‘real’ is a challenge for developers of sampled sounds, as heard on many digital pianos. The compromises inherent in the technology are why M
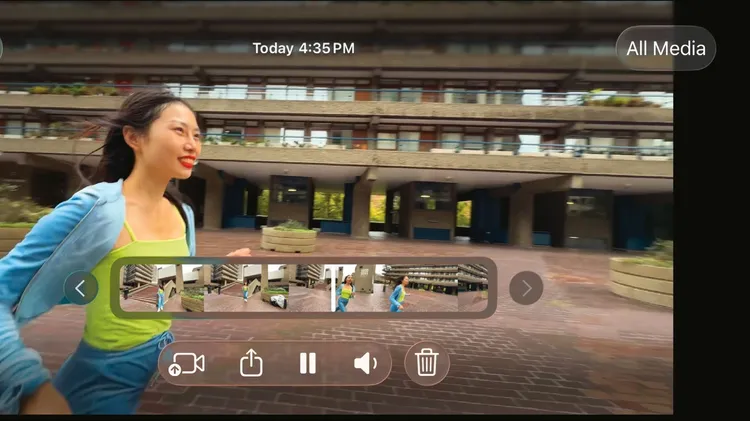
Enjoy pro–level video camera controls on your iPhone
Inspirational ideas for Mac, iPhone and iPad