Europe
Asia
Oceania
Americas
Africa
There are many reasons why you might want to work tempo
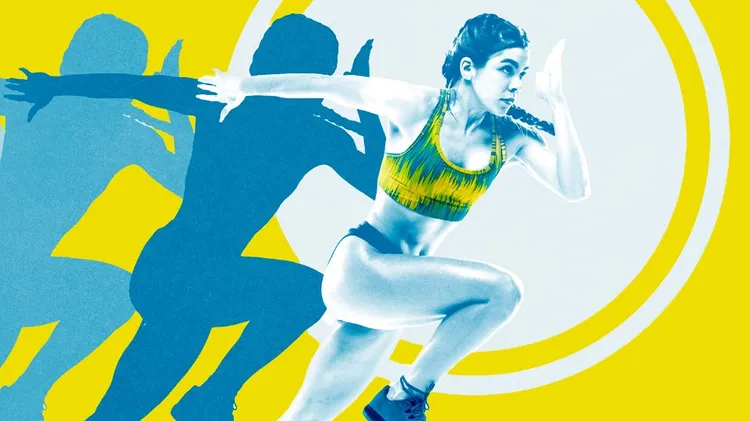
A FRESH TAKE ON MAXIMISING YOUR RUNNING ENJOYMENT
Can upping your cadence reduce your injury risk?
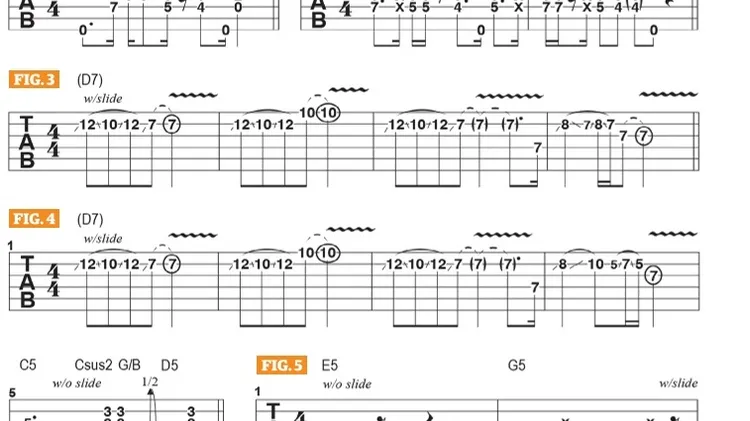
A CHIEF CONSIDERATION when playing with a slide is the tuning. Many of our favorite slide players — Elmore James, Duane Allman, Johnny Winter, Derek Trucks — play slide almost exclusively in an open t
PRESS Gluecifer Same Drug New High STEAMHAMMER Bringing ...
The unconventional instrumentation favoured by Tortoise is an indicator of how many different lineups have always jostled for space under the jazz umbrella. The national treasure that is The Pete Alle
With solo projects, other bands and a massive Creed reunion between them, there were whispers that Alter Bridge might be on the way out. Instead they regrouped, faced the dark side of our times, put their foot on the gas and recorded a brilliant new album.